LEDs, or Light Emitting Diodes, are special components that give off visible light when current flows through them. Thanks to modern manufacturing techniques and clever engineering, LEDs can be made to emit almost any color! This lab will explore some of the techniques used to create these colors, and how to identify them using a dichroic cube. If you’d like to learn more about dichroic cubes and how they are awesome, we have an article for that!
Background
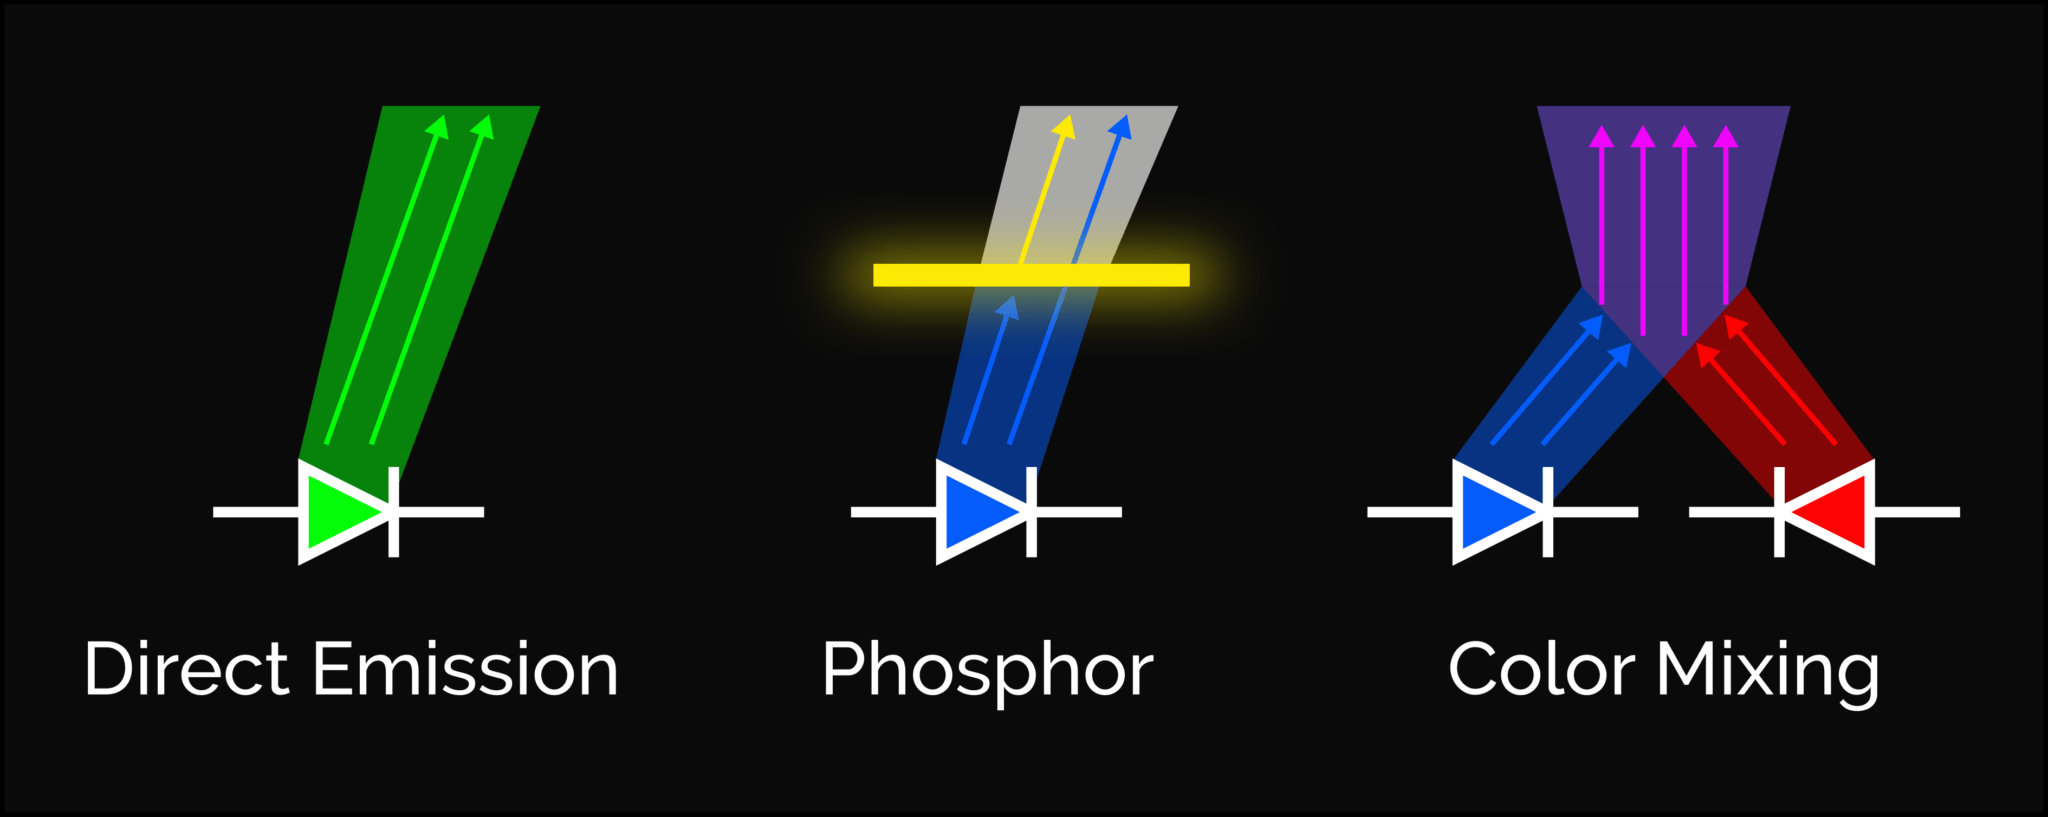
There are three ways to make colors with LEDs:
- Direct Emission: Generate colors by selecting a semiconductor that naturally emits a specific wavelength of light. Most LEDs use this technique, as it produces a very uniform color and is cheap to manufacture.
- Phosphor: Emits one color of light through Direct Emission, but uses a phosphor coating to produce additional colors. When light hits the phosphor, it releases light of its own. White LEDs are actually Blue LEDs with a yellow phosphor, which combine to form white light. These LEDs can produce very high quality light, as phosphors can be made to emit a broad spectrum of wavelengths.
- Color Mixing: Combines multiple Direct Emission LEDs to “mix” colors. This is how RGB LEDs work. These can create a wide variety of different colors (millions, even!) by varying the brightness of individual LEDs.
Since a dichroic cube separates light based on wavelength, we can use one to tell if our LEDs generate “direct” colors, or if they employ some kind of color mixing or phosphor.
Materials
- Assorted LEDs (5-10 LEDs of different colors and types)
- For best results, try to include a few white, pink, and RGB LEDs. Bonus points if you can find a few from different manufacturers
- Lab Power Supply
- We’ll need this to power the LEDs.
- Optionally, you can use a battery, provided you have the proper resistor for each LED.
- Dichroic Cube
- Paper or other white-colored surface
- This helps us see the reflected light better.
Procedure
- Place the dichroic cube in the center of your paper, with the “X” pattern facing up.
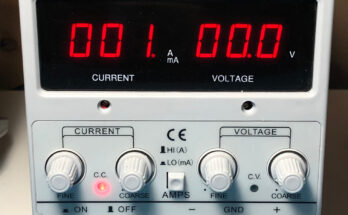
- Turn on the power supply and set its current limit to 10 mA.
- Set the power supply’s voltage to 0V.
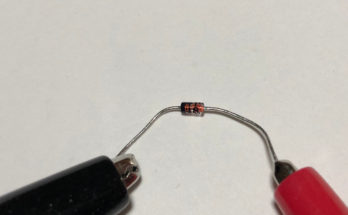
- Connect an LED to the power supply, being careful to connect it in the correct polarity.
- Most LEDs have a shorter lead or a flat spot to indicate the negative terminal. An LED will not light if it is connected in reverse (Don’t worry, you won’t hurt it as long as the current limit is set properly)
- Slowly increase the power supply voltage until the LED glows brightly.
- If you have increased the voltage beyond 4 V and the LED still does not glow, it may be installed backwards.
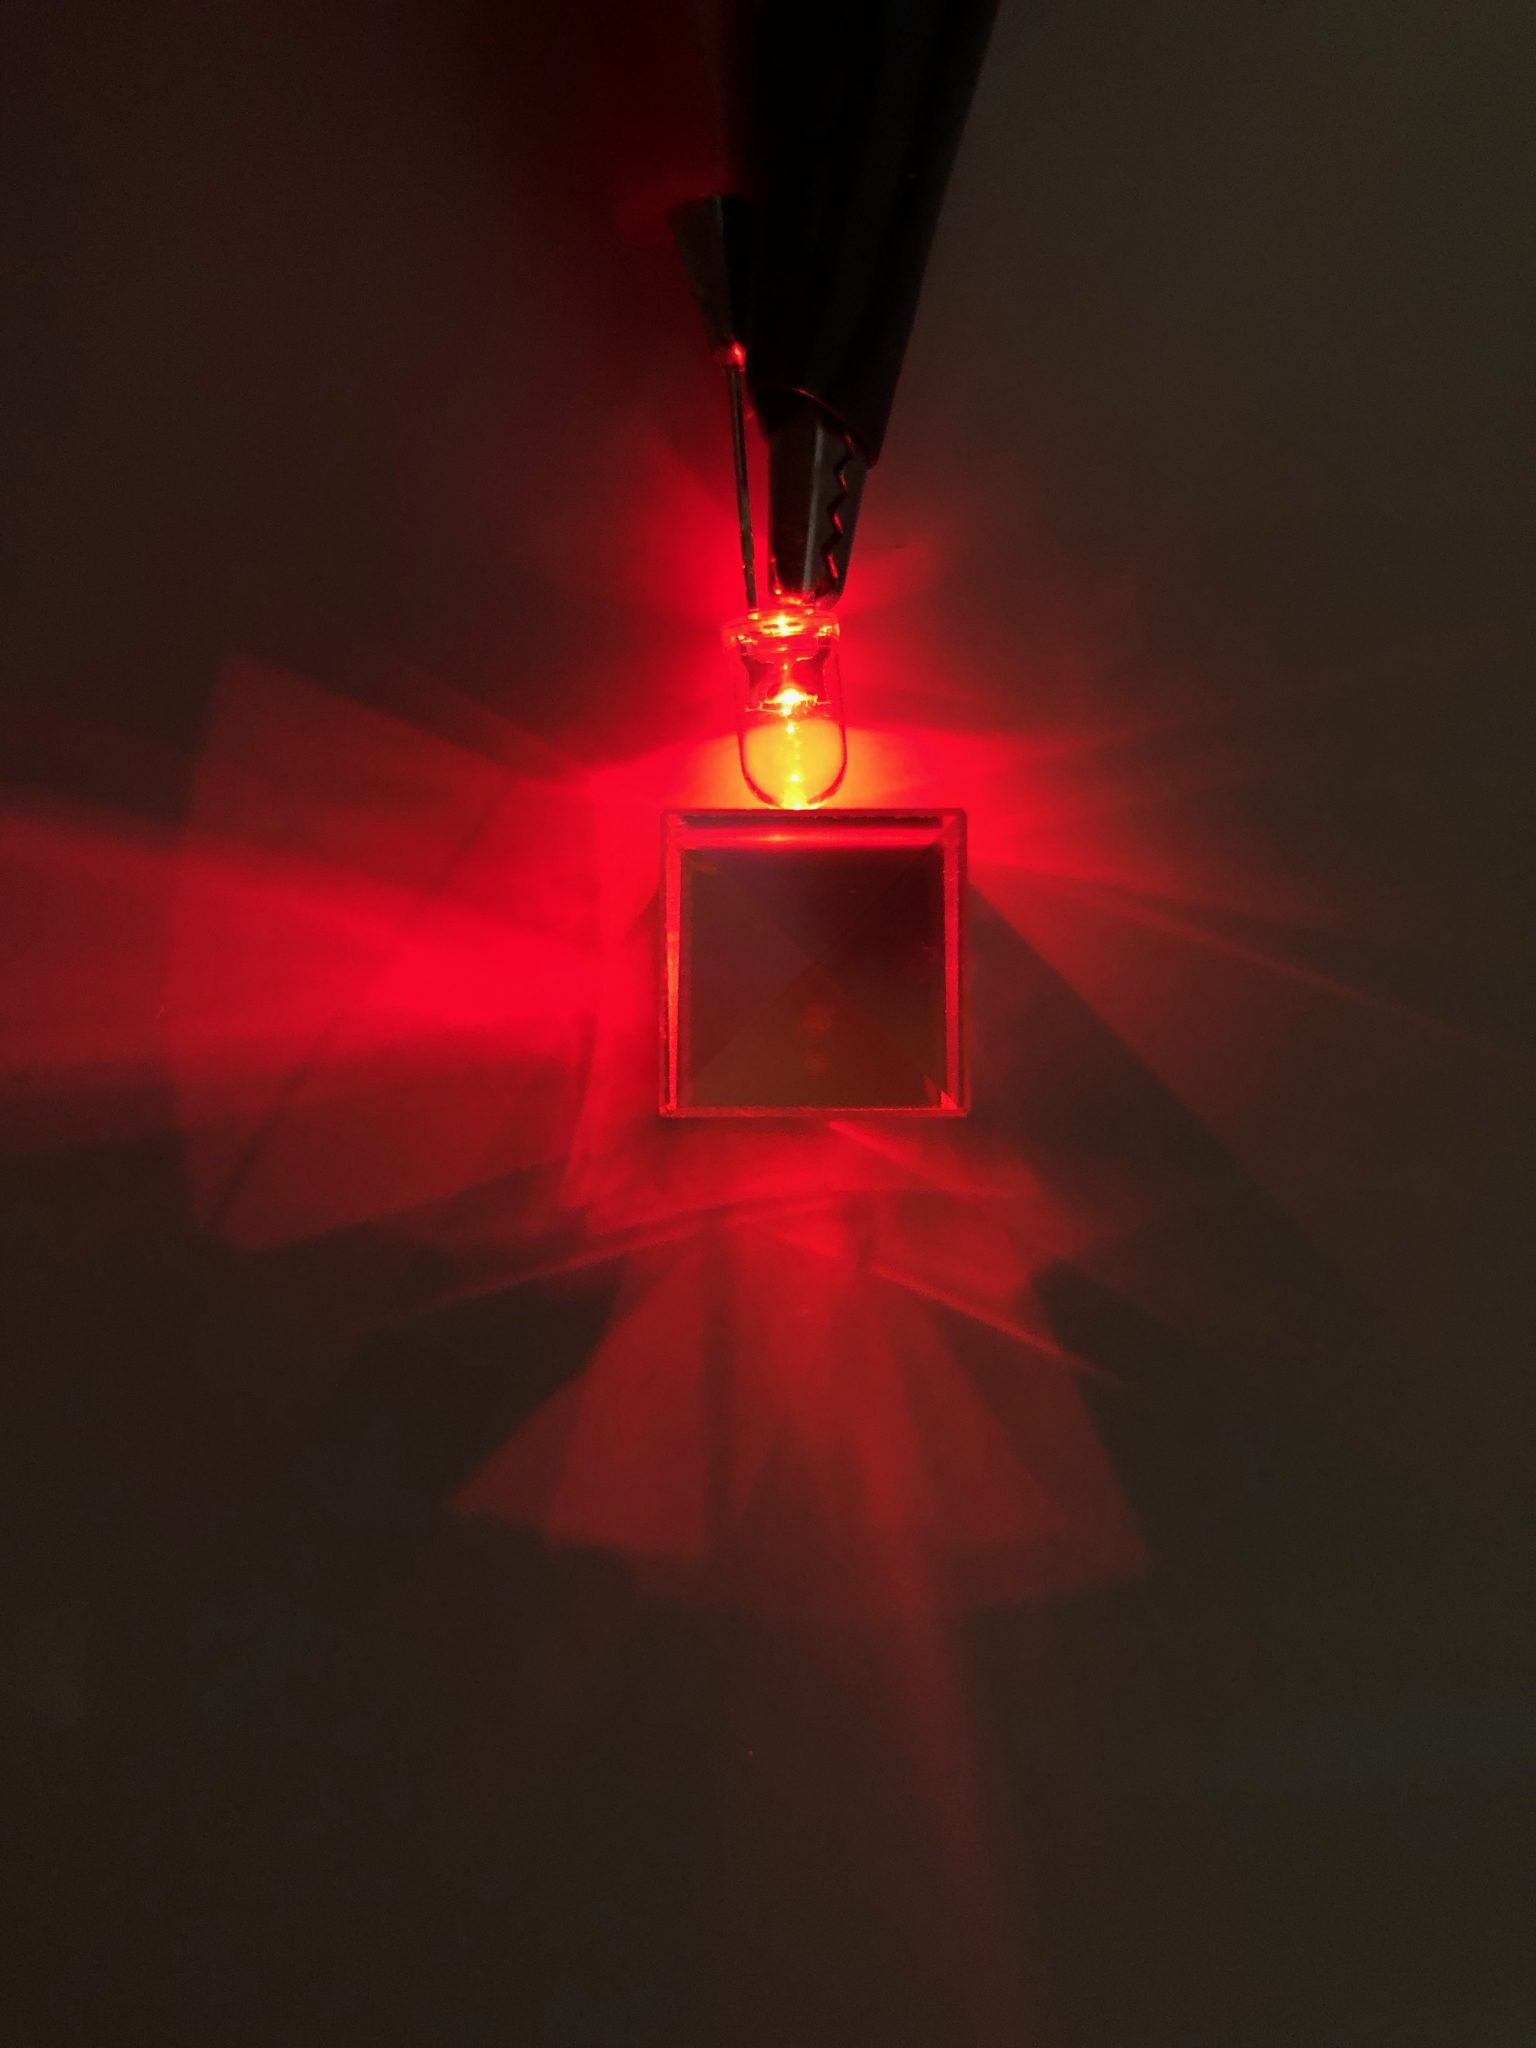
- Point the LED at one of the faces of the dichroic cube about 5-10 mm away. You may need to angle the LED down slightly so that the light is visible on the paper.
- Record the light pattern that emerges from the dichroic cube, paying special attention to the colors that exit each face.
- Set the power supply back to 0V
- Repeat steps 4-8 for the remaining LEDs. Can you tell which LEDs are direct-emission types?

Examples
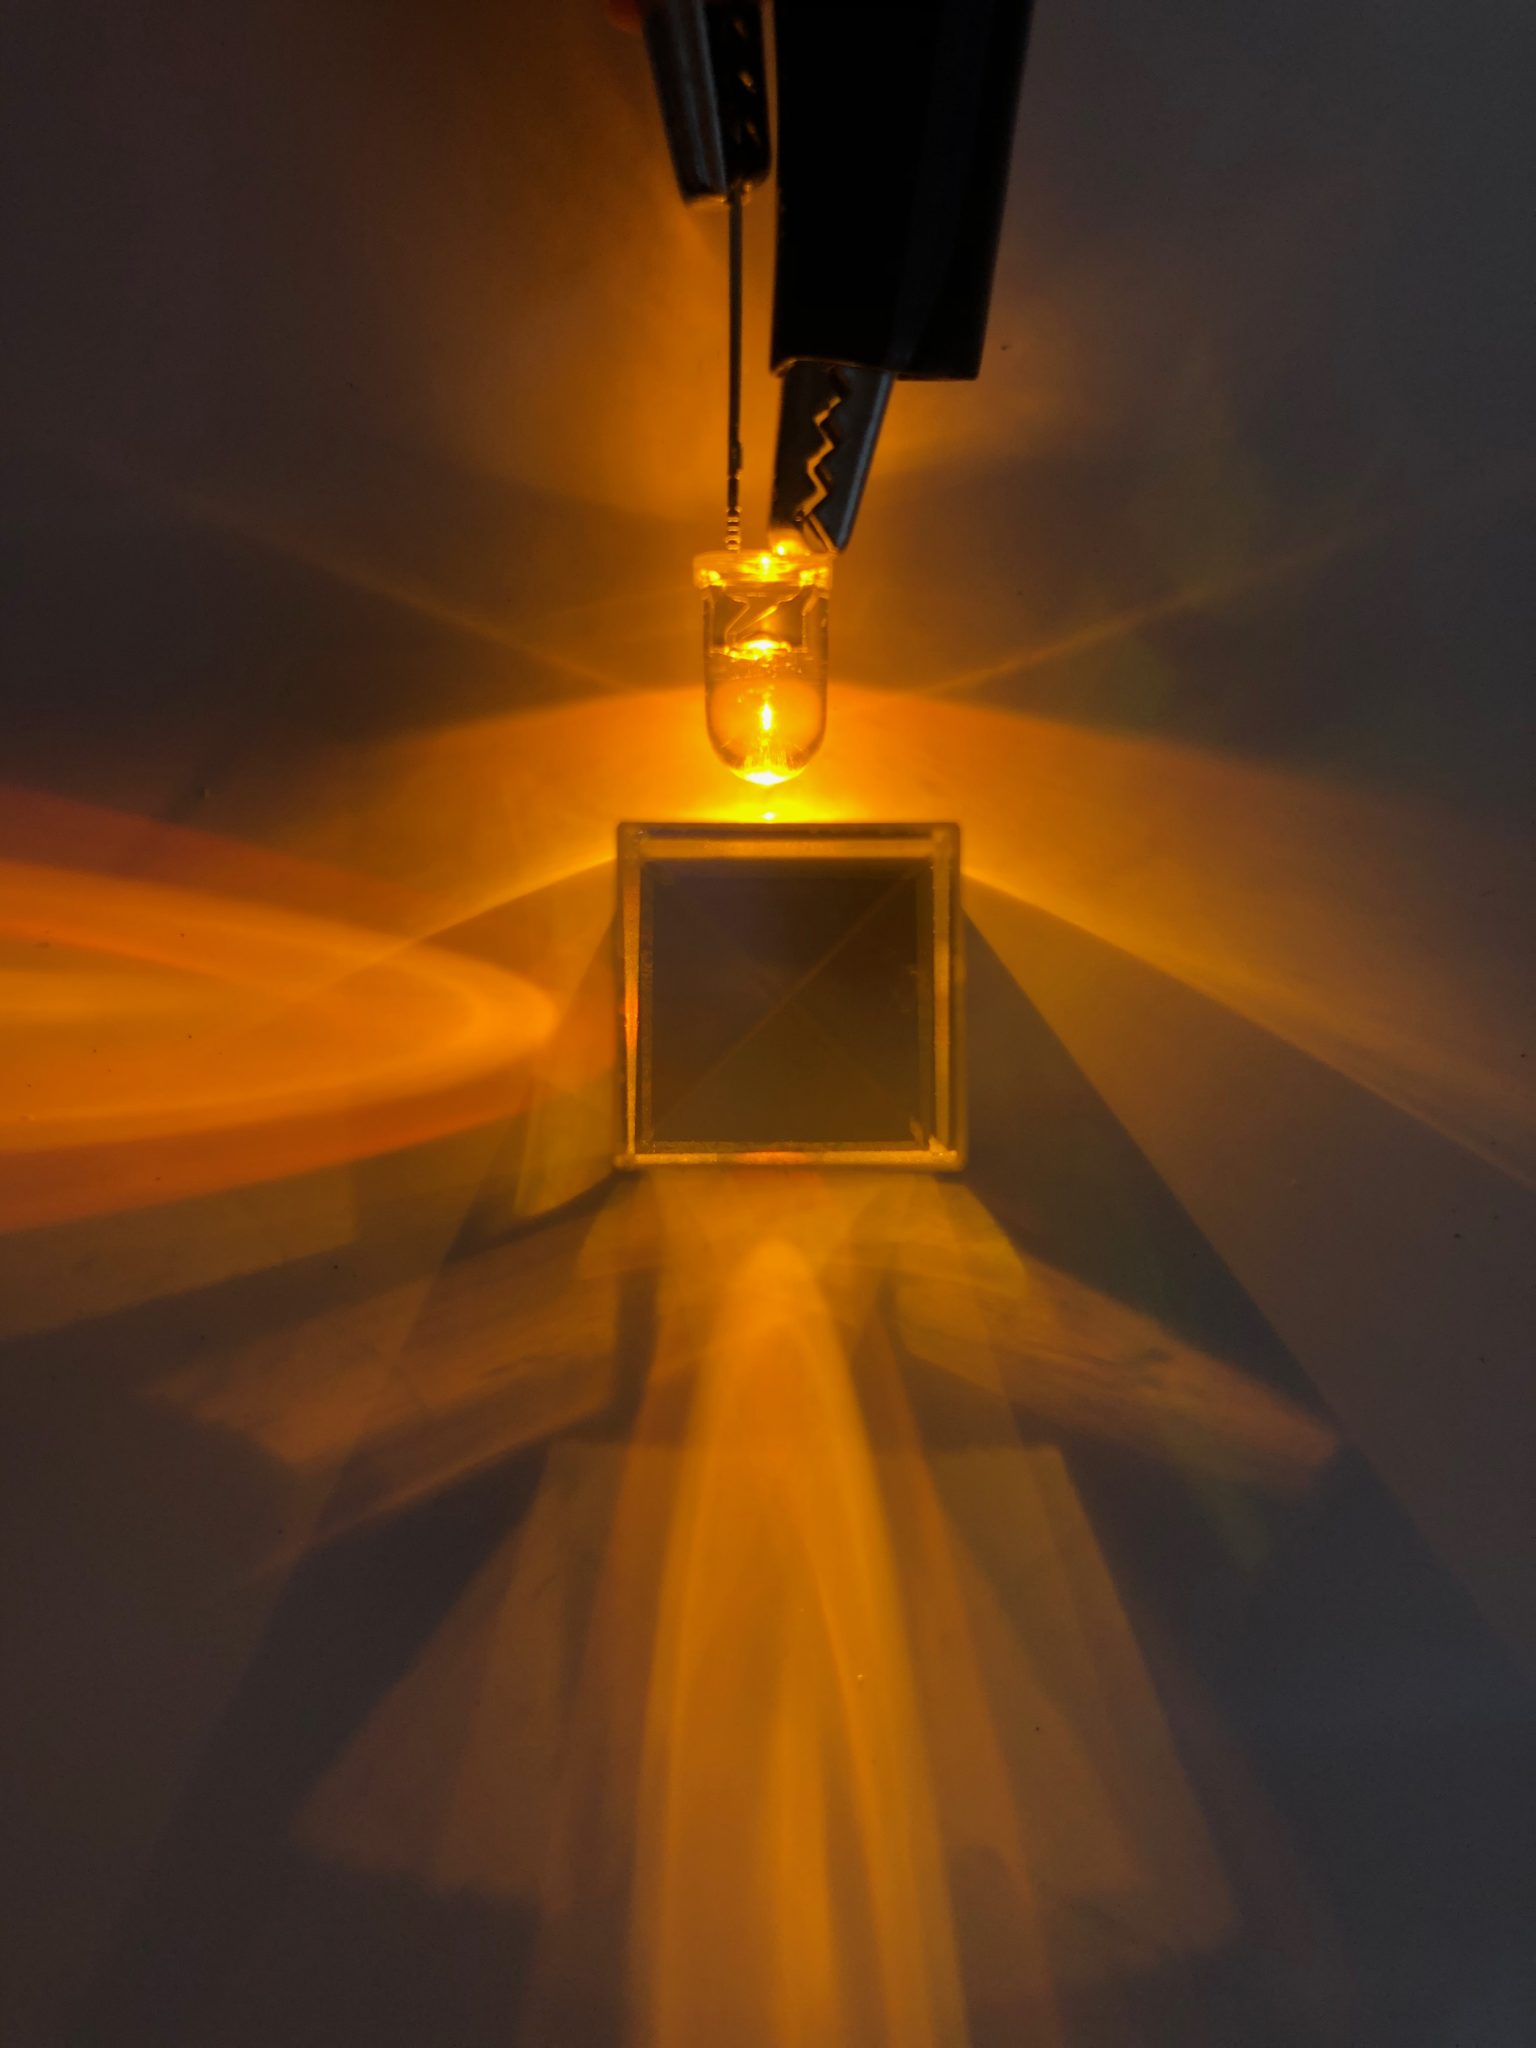
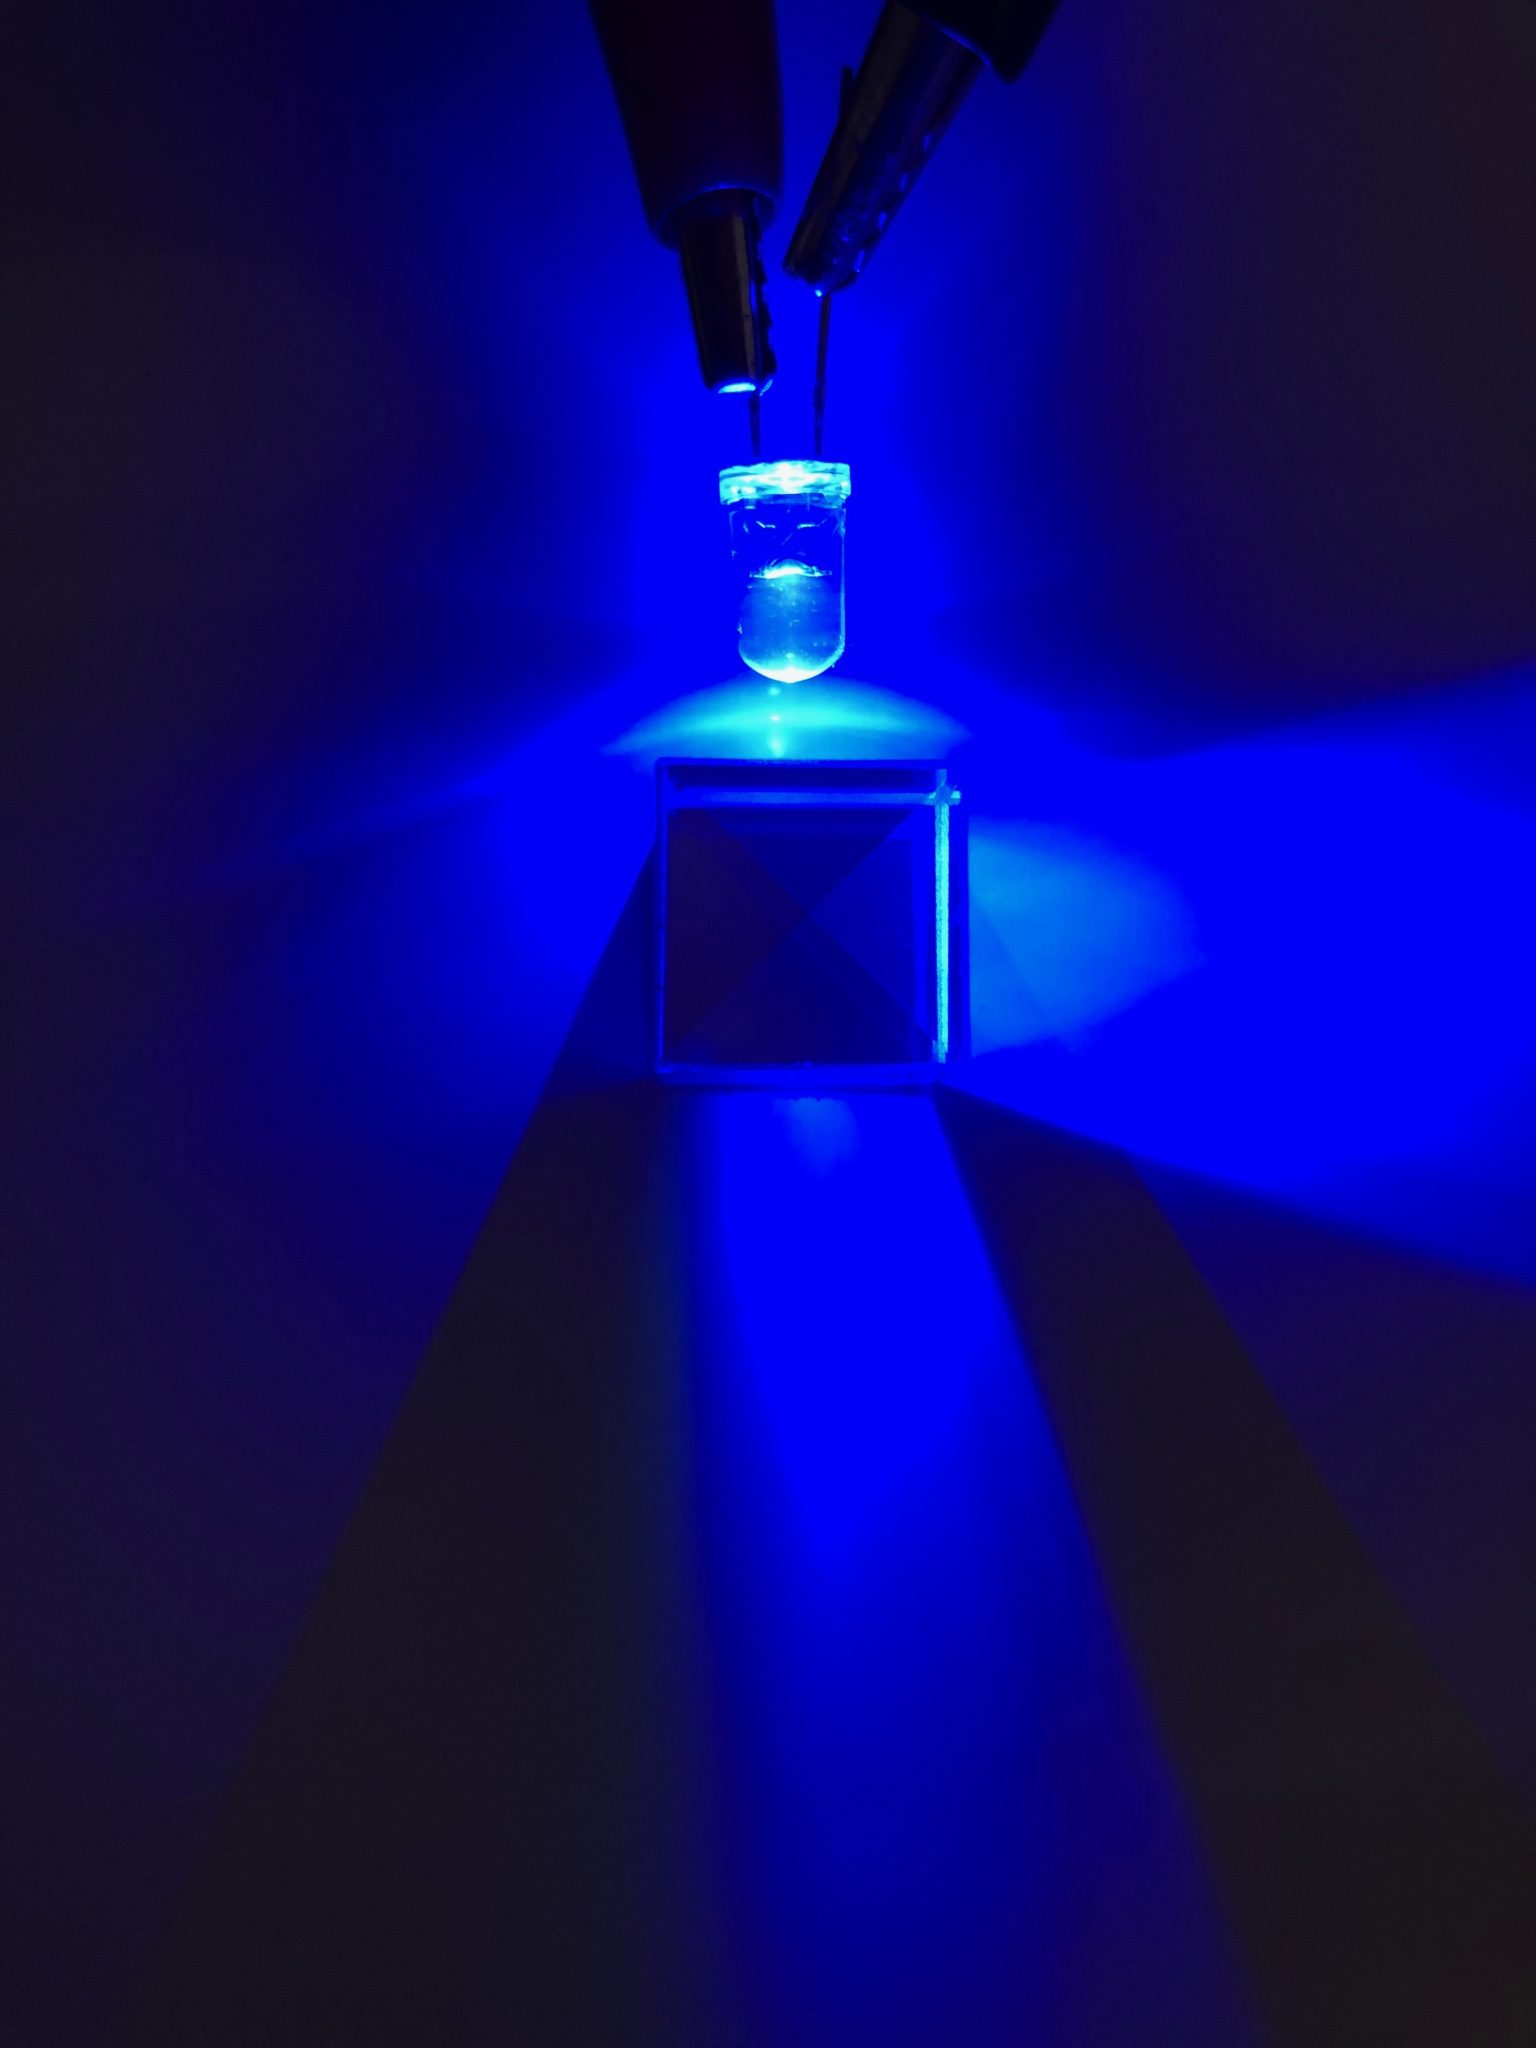
Direct Emission LEDs
All of these images show LEDs that directly emit light of a single wavelength. Notice how even though the light is reflected by different amounts through each of the three sides, it’s still the same color as the incoming light.

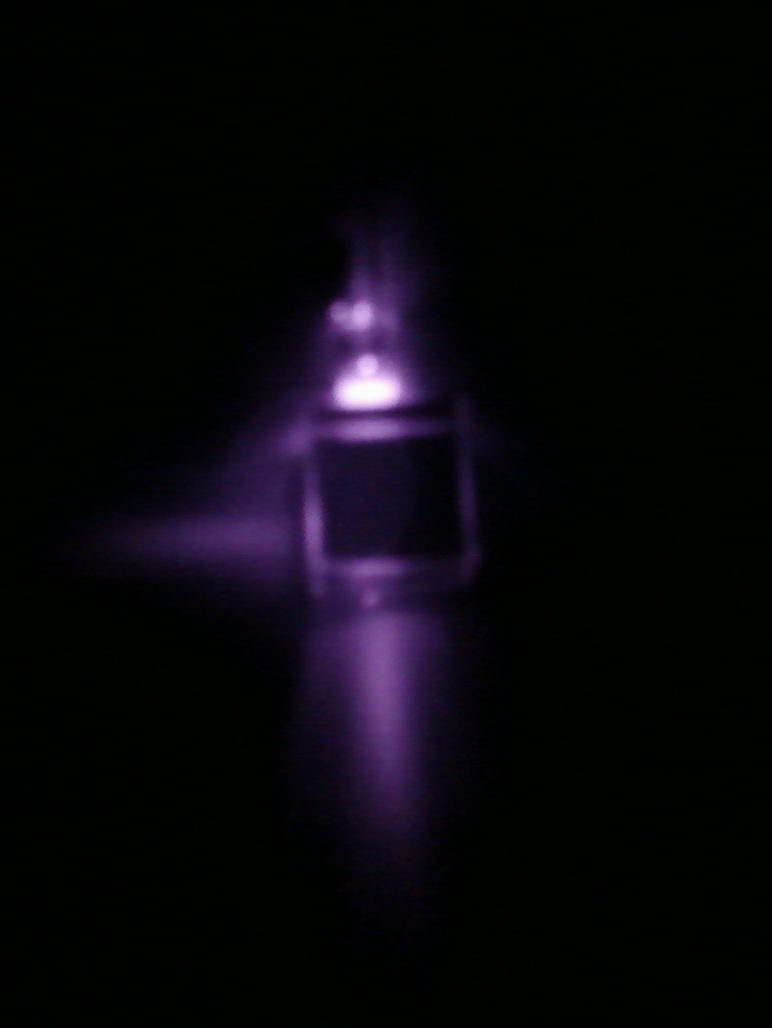
Even works in infrared, too:
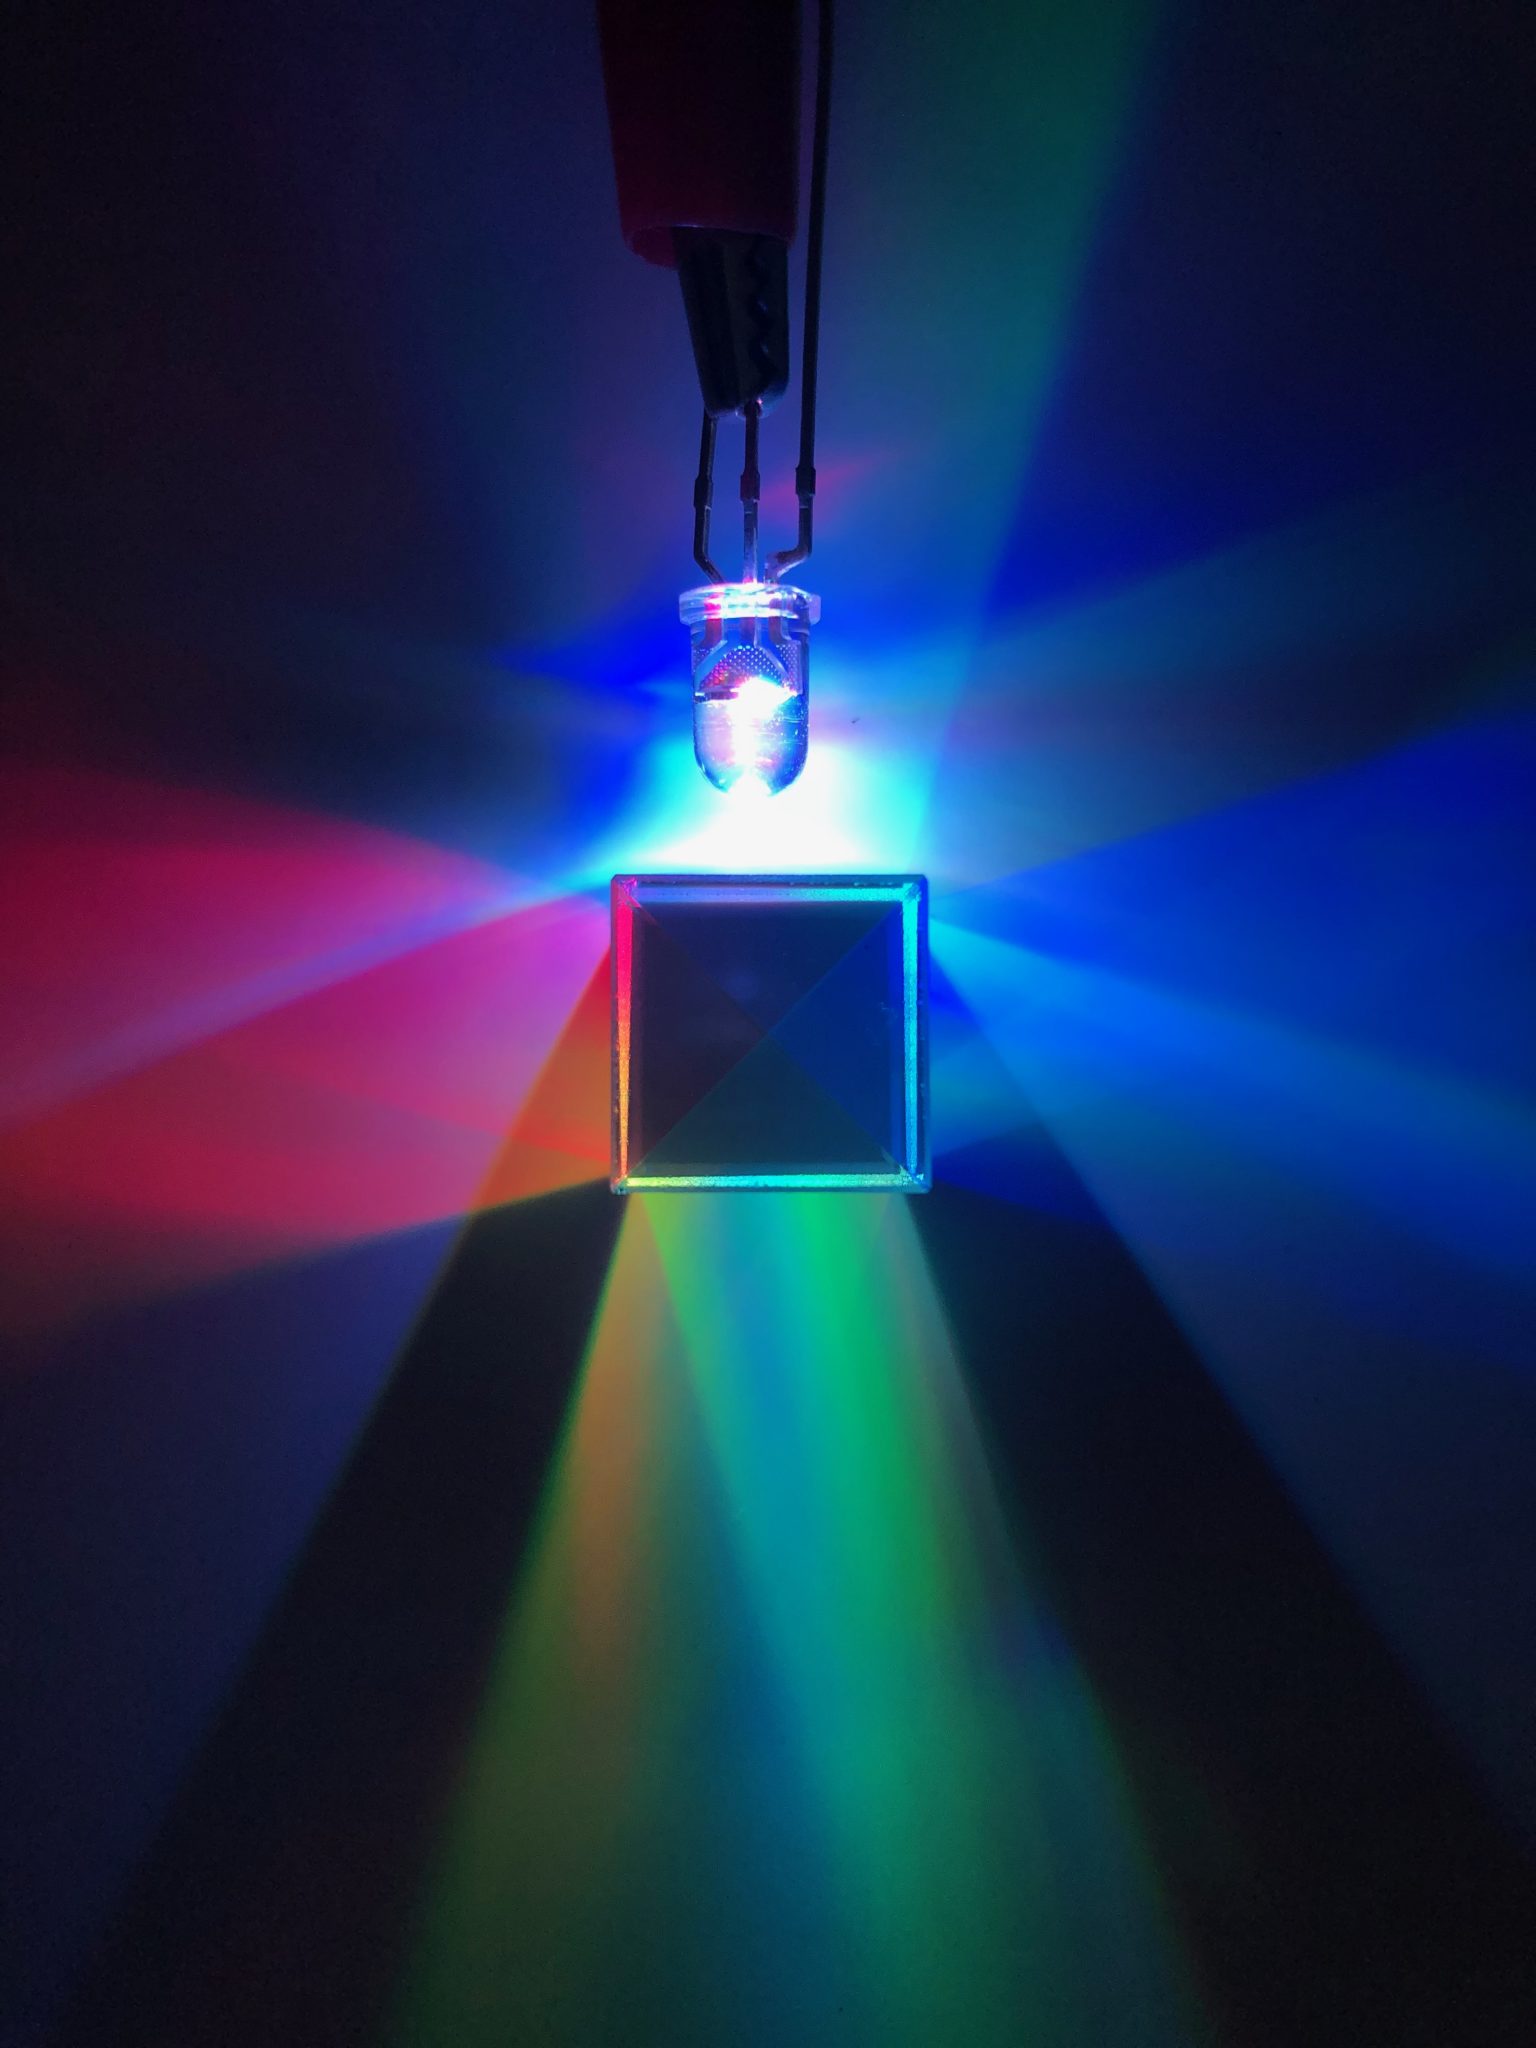
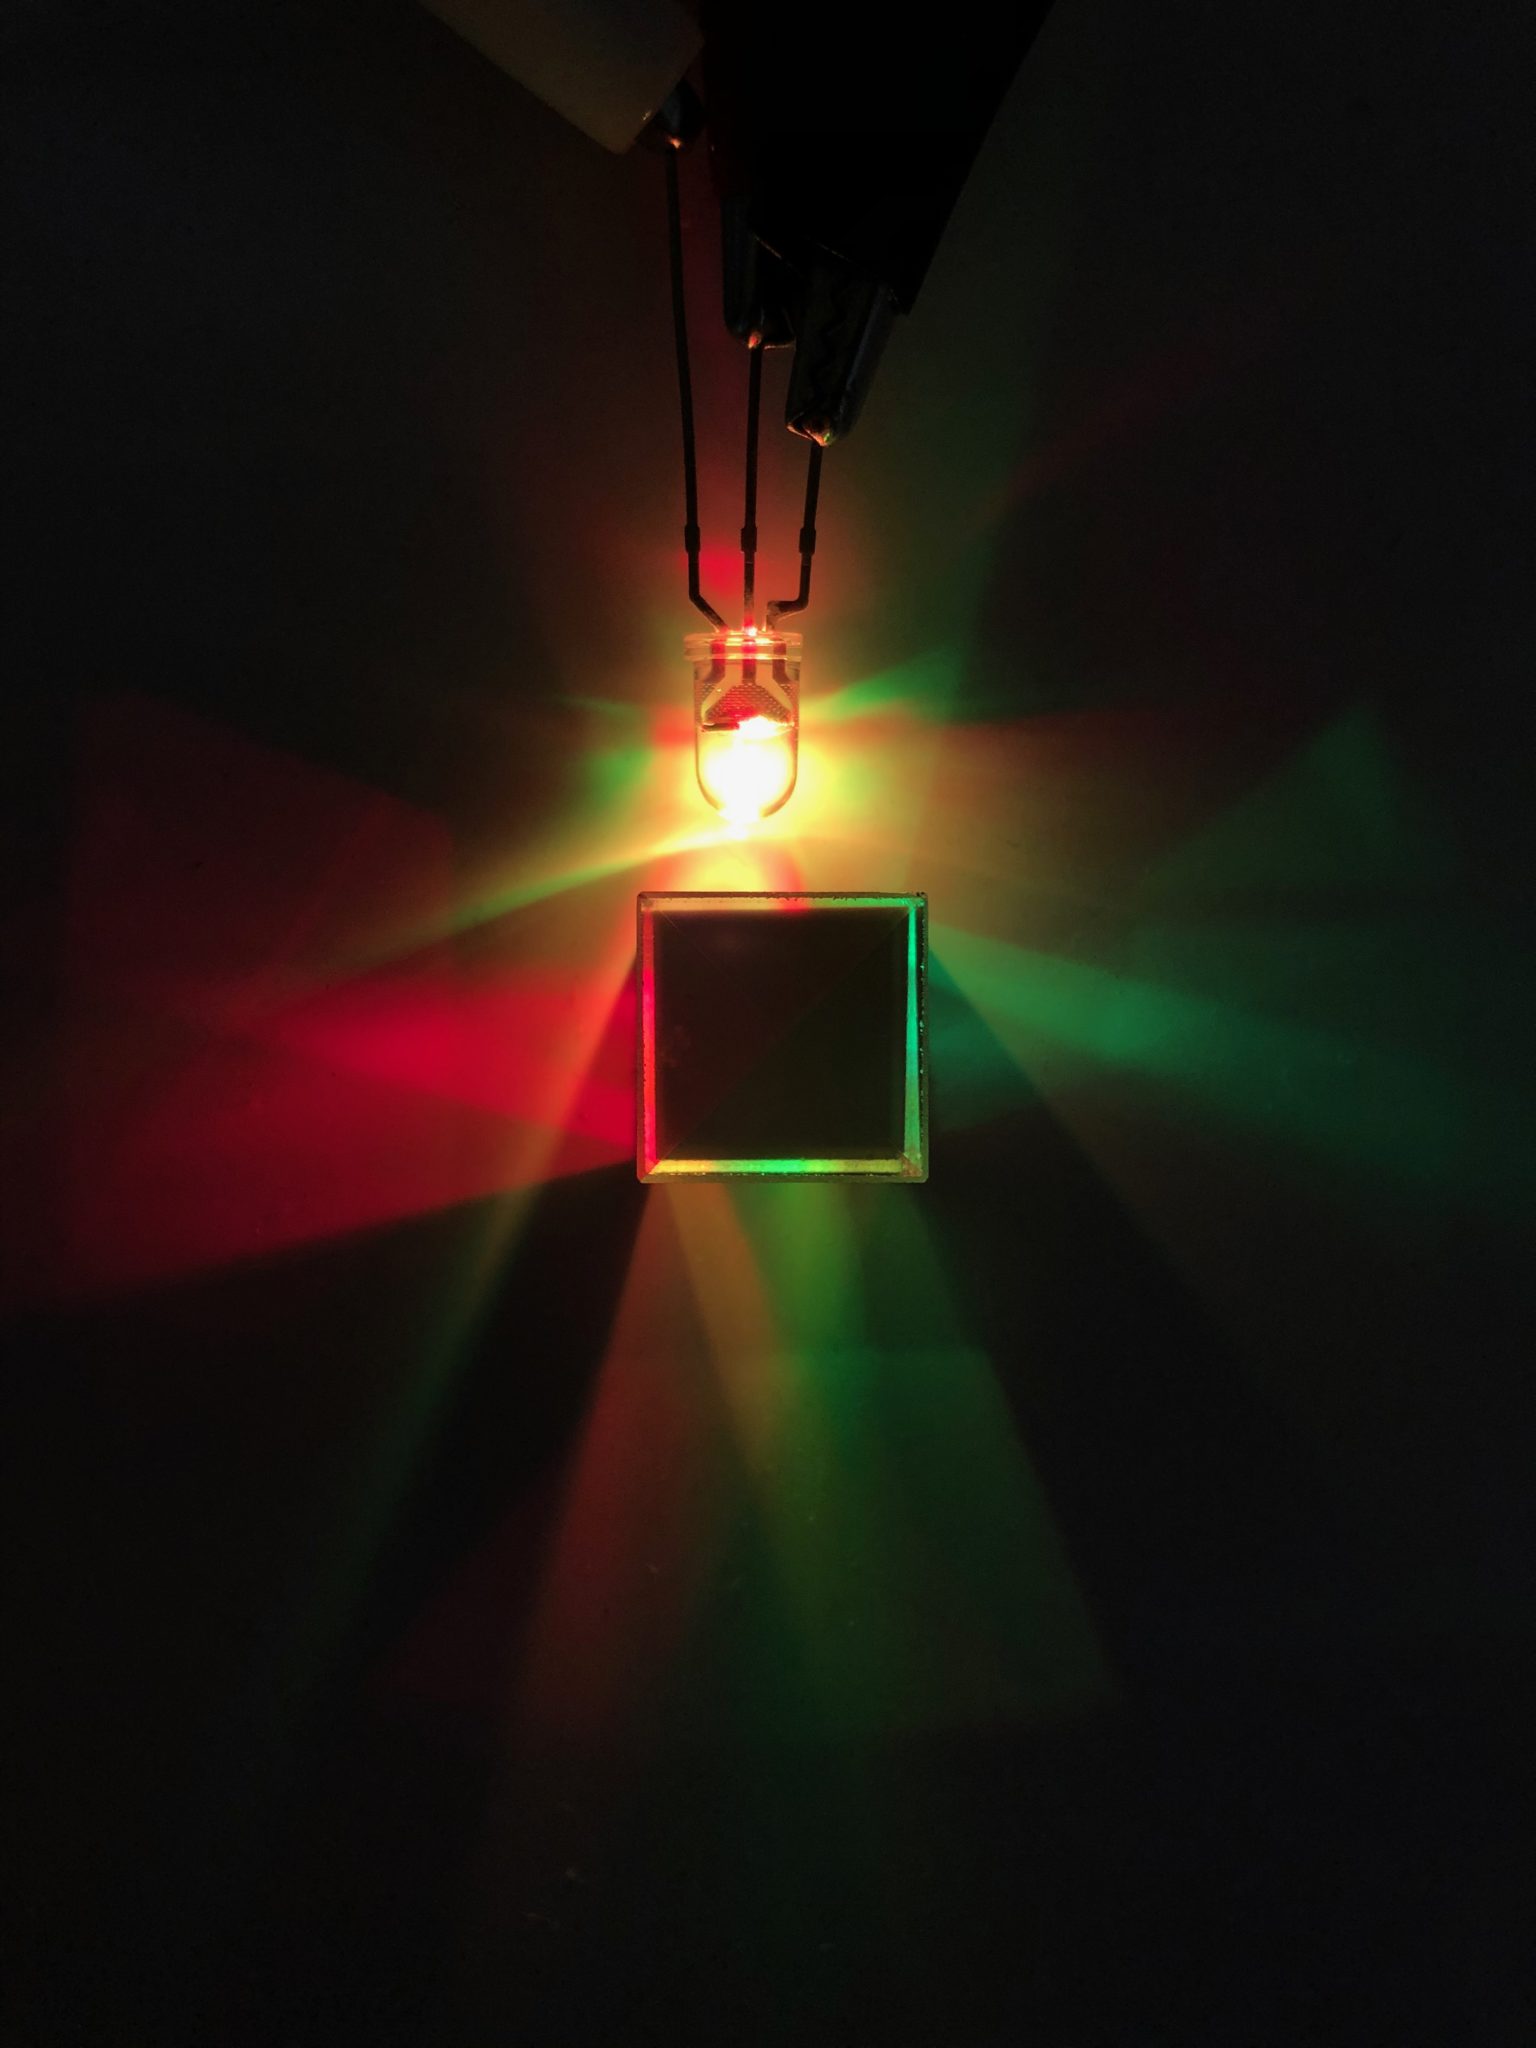
Color Mixing LEDs
These images show LEDs producing color by mixing different colors of LEDs together. The most common method is to use Red, Green, and Blue LEDs in different combinations, as is the case with RGB LEDs. Notice how the light exiting each side of the cube is a different color, but they’re all distinct, solid colors. Those are from the individual Red, Green, and Blue LEDs inside.
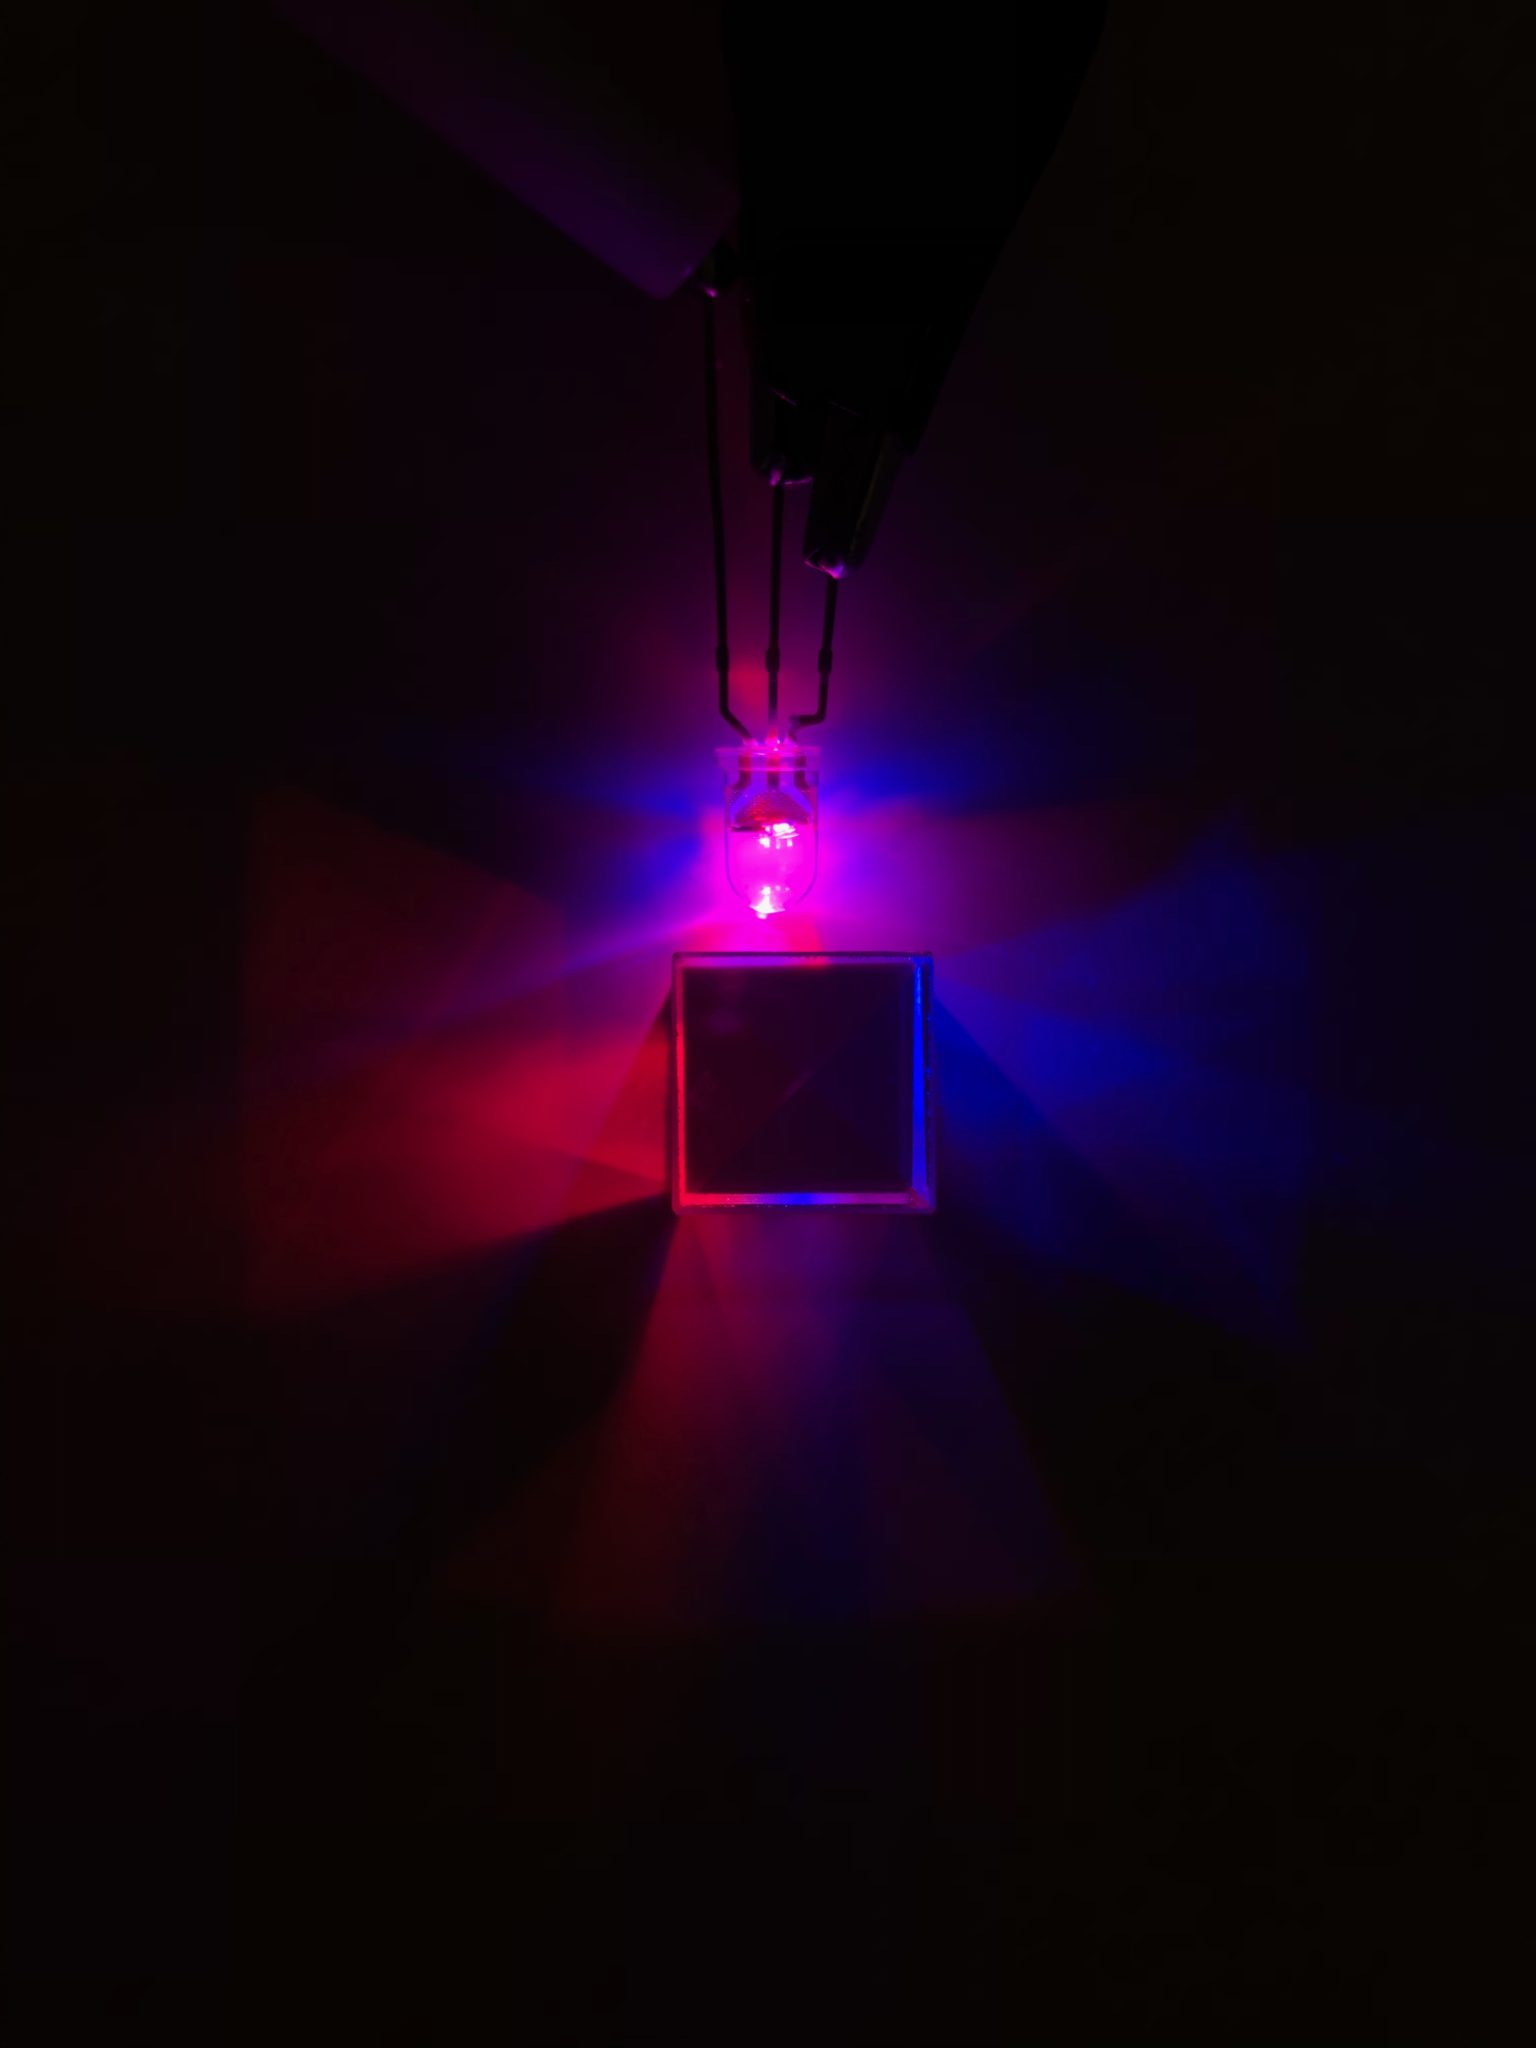
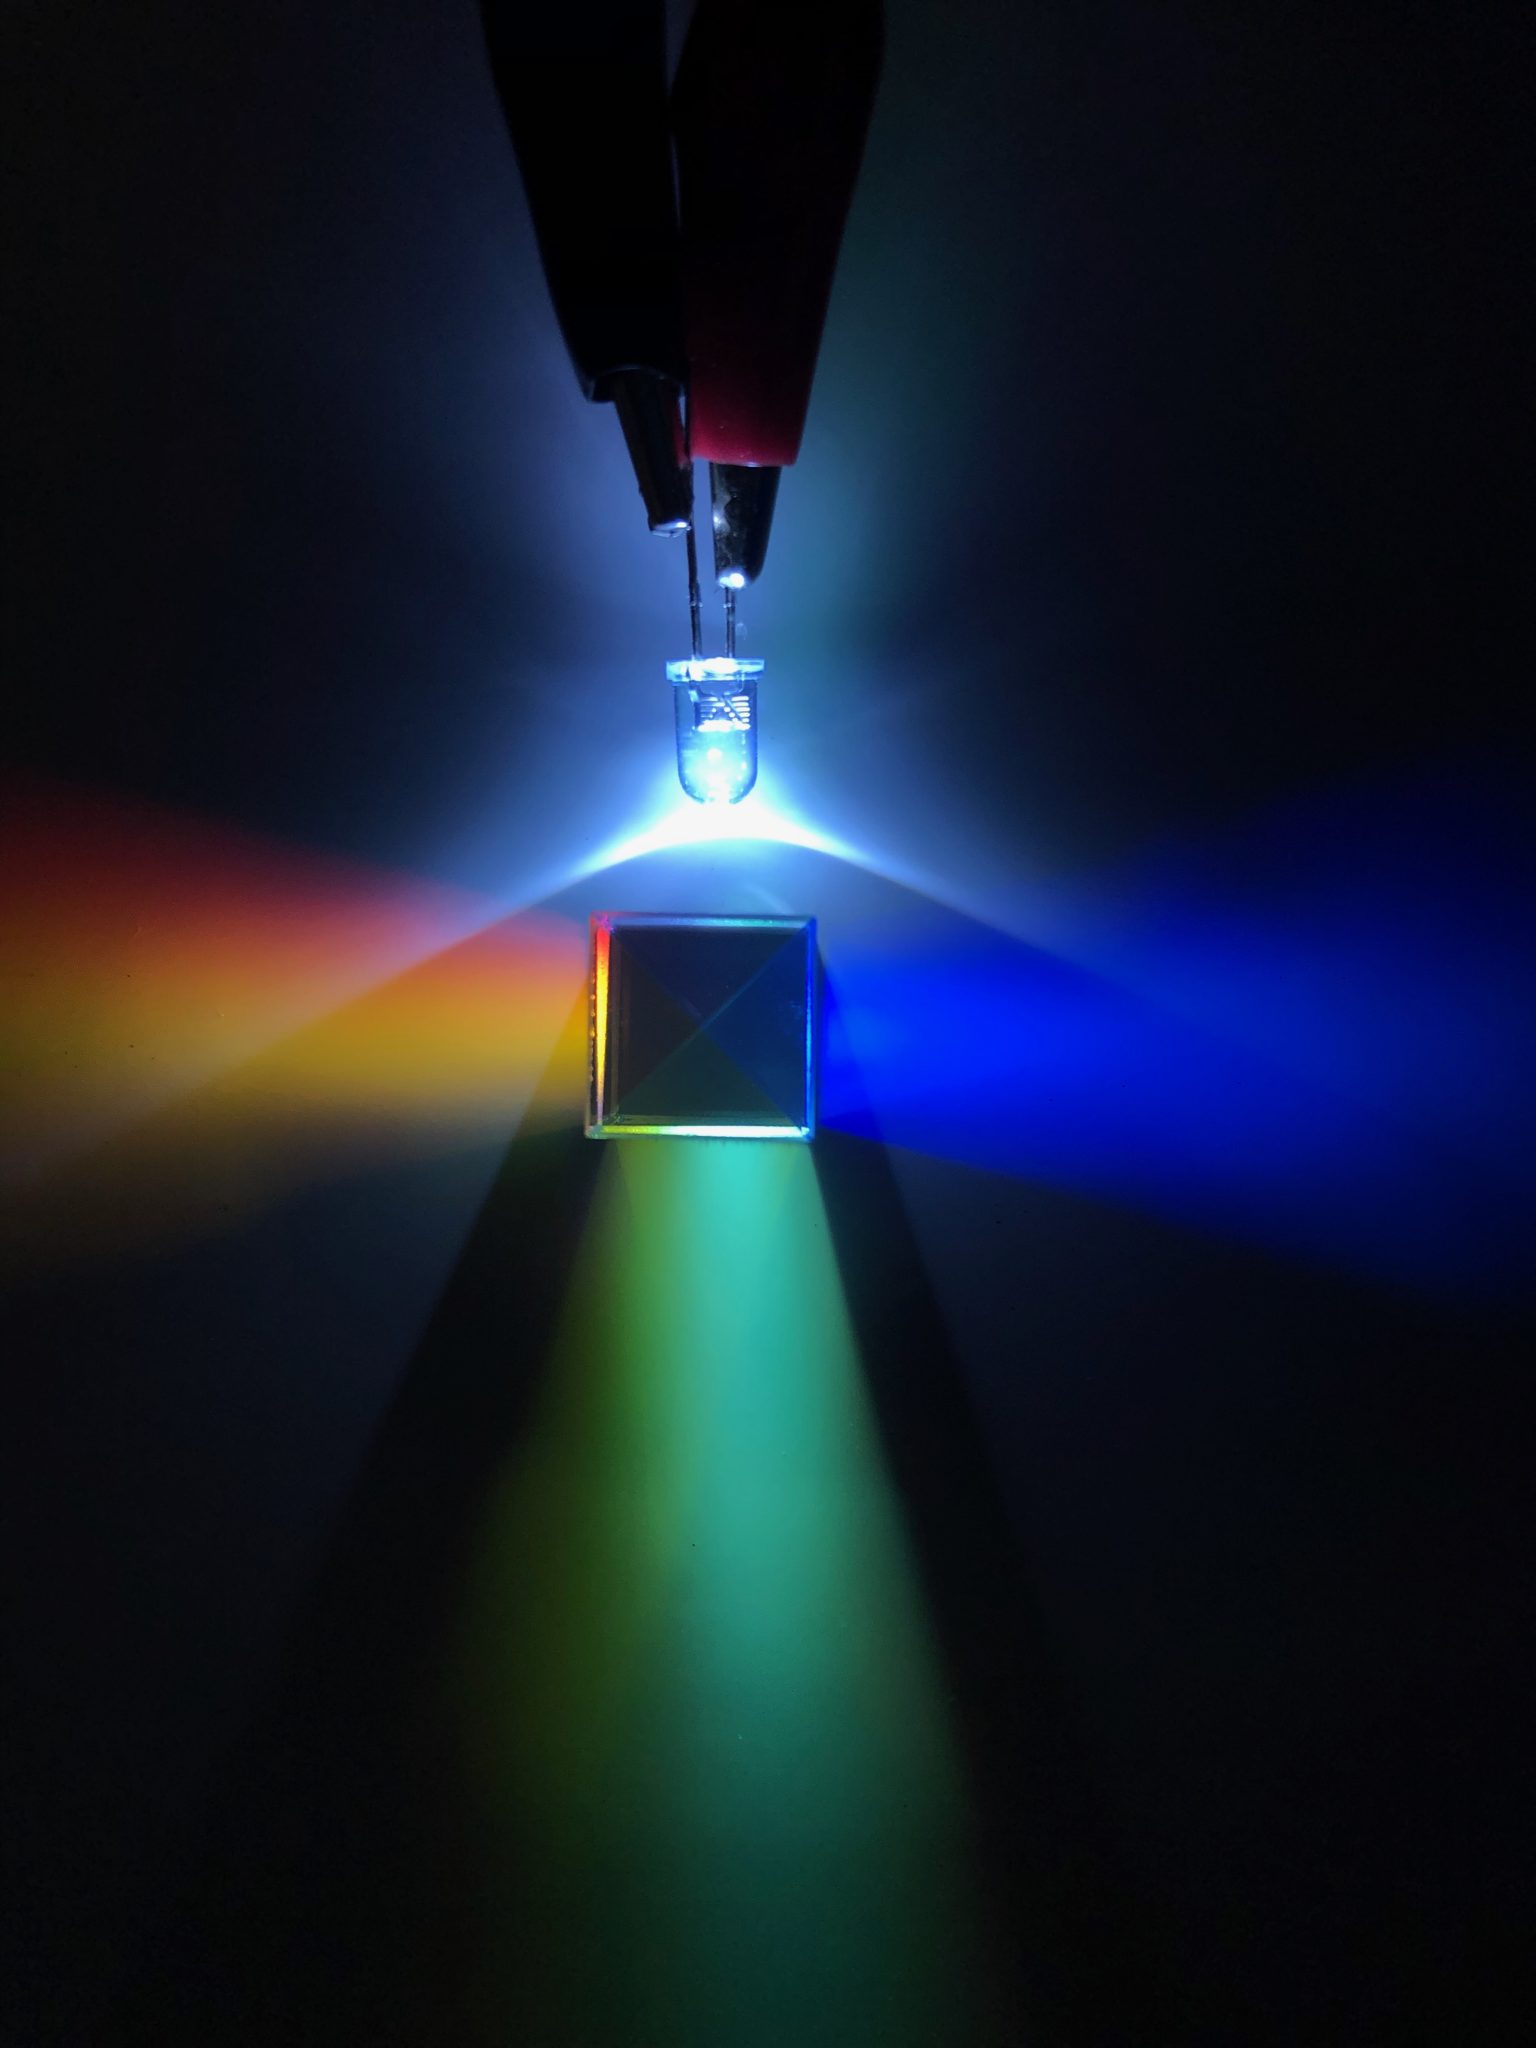
Phosphor LEDs
These images show LEDs that initially emit a single color, but use phosphors to emit a second color. Most LED lighting in homes and offices use blue LEDs coated with a yellow phosphor, which mix to form white light. You can also make pink LEDs by first emitting blue light, and using a red phosphor. In fact, it’s impossible to directly emit pink light, since it doesn’t exist. So, the only way to make pink light is by either mixing colors or using a phosphor. As with a mixed-color LED, you can identify Phosphor LEDs by the different colors that come out of the dichroic cube.
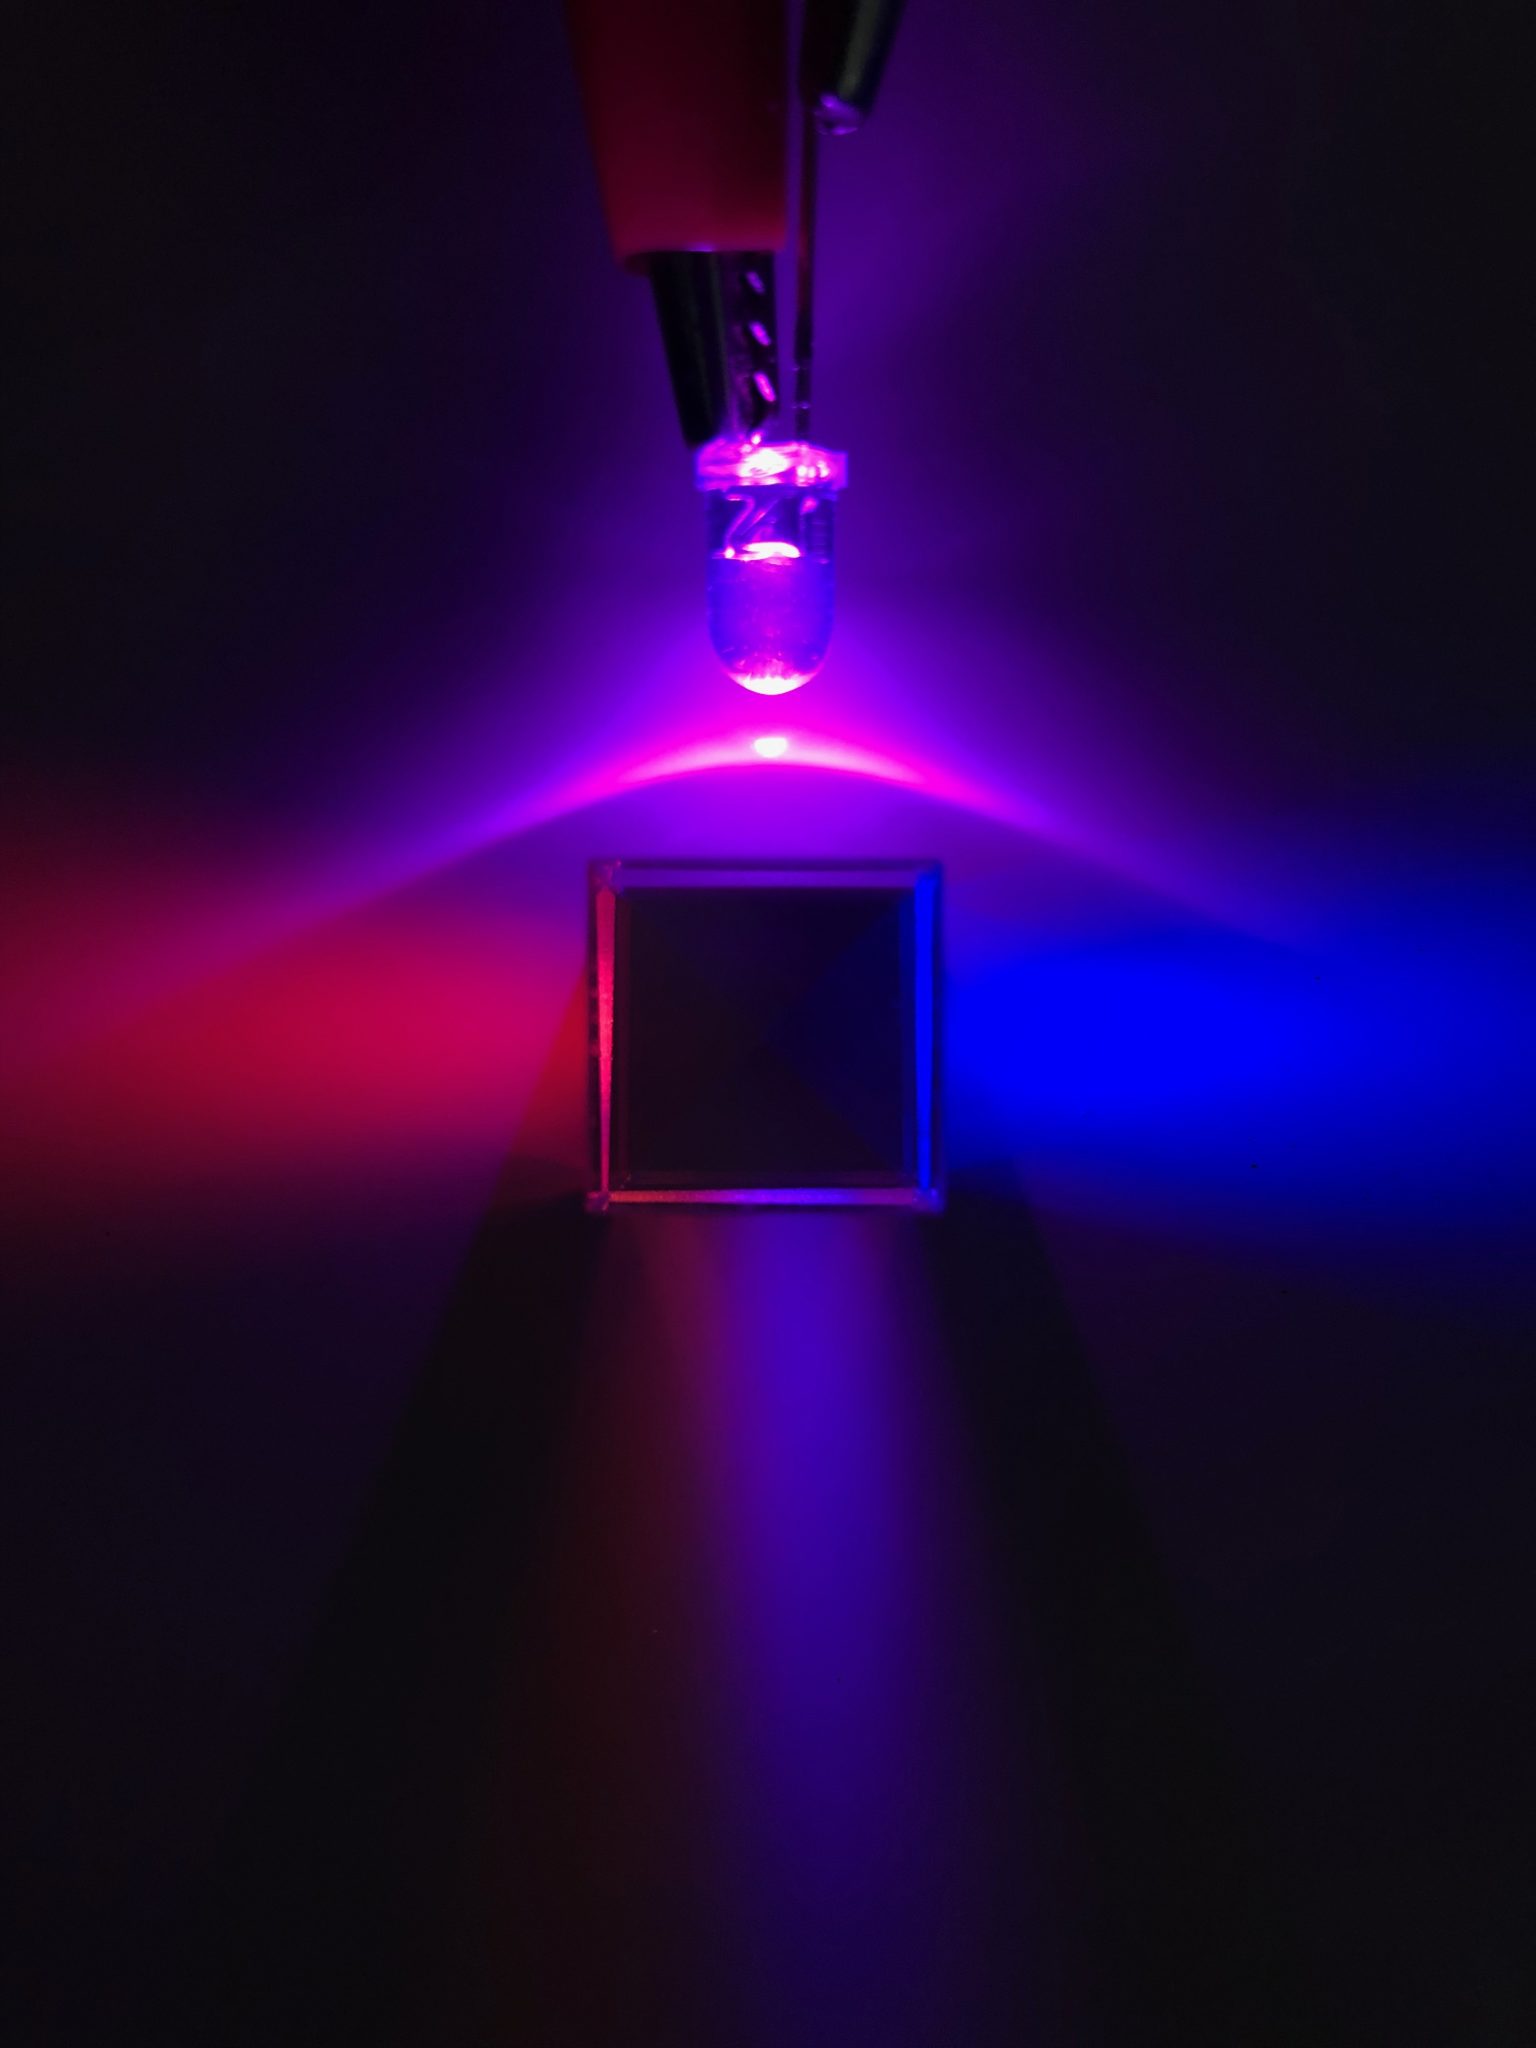
Bonus: Fun with Phosphors
You can quickly identify phosphor LEDs if you know what color the underlying LED emits. If you shine that color of light (or onto an unpowered Phosphor LED, the phosphor will begin glowing! Check out this pink LED glowing under a blue light: